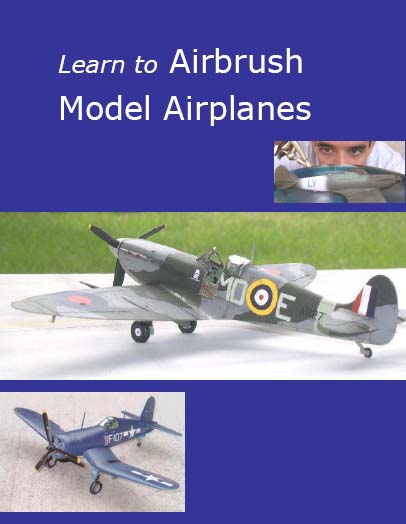
How to Paint a Pilot Figure
Pilot figures are often ignored by the model airplane builder. After all, we are more interested in the airplanes, aren't we? Of course, the stories of the pilots and ground-crews are often what make the machine so interesting.If you're modeling an airplane and want to show the interior cockpit detail, it's best to leave the pilot out. If the plane is to be in-flight, or if ground crew are to be shown, it's time to break out your paintbrushes. Note that if the pilot is to be posed in the cockpit, you should paint the figure and insert before enclosing the cockpit: if you wait till the end of construction, you may not be able to squeeze the pilot into the seat. We'll illustrate the painting of a pilot figure with this 1/48 scale pilot from a Tamiya F4U-1D Corsair. This pilot is meant to be posed standing on the wing of his airplane next to the cockpit.
The red arrows below indicate sprue attachment points, and a mold line that runs all the way around the figure. Remove these with a file and/or 600 grit sandpaper. Your paint job will not hide these artifacts, so remove them now. Wash the figure with soap and water, then air-dry.

We'll use Tamiya acrylics, although many people prefer other acrylic brands (e.g. Vallejo) or use enamels for hand-brushing. With careful thinning, the Tamiya paints work well for us. Prepare your paints and brushes; we used a number 1 round brush for the larger areas, and a 10/0 spotter for the small areas.
Here the figure has been stuck to an old business card, using Handi-Tak (poster mounting material). You could also use hot glue, double-stick tape, drill a hole and insert a toothpick; anything that will make handling the piece easier.
Now start painting the flesh color first. You can purchase "flesh" as a color option from the usual manufacturers, or mix your own (try brown and white with tiny amounts of yellow and red). You can see that we overlapped the flesh color onto the clothing areas, no need to be very precise in this first step, just cover all of the skin parts.


Next we added the shirt and pants color, and the shoes. Note that we covered the vest, harness and buckles in the same color. Below right: we added the vest, flight cap, and the goggles (frame and strap black, lenses are chrome silver).
Note that the yellow vest can overlap slightly onto the harness straps, which we will paint next. Yellow paint is notorious for covering poorly, we needed three coats here.


Next up was the harness straps. The buckles were painted chrome silver using the fine-tipped spotter brush. Below right: We added highlights to the model, by dry-brushing a lighter shade of the base color (dry-brushing is described on our cockpit page).
This was done on the pants and shirt. White highlights were painted on the flesh areas, e.g. the bridge of the nose, cheeks, and forehead. Finally a very thin mix of the flesh color was painted over the flesh areas, to blend the base flesh color with the white highlights.


The next step was to apply a gloss coat (Future floor wax acrylic), then a dark-brown chalk wash over the entire figure, to add depth to the shadows. In the photo below left you can see the difference in the shadows on the clothing e.g. at the pants cuff.
A flat clear coat (Model Master Acryl Flat Clear) was applied with a brush, which removes the gloss from the previous step. Note below right that the shoes now look worn instead of unrealistically shiny. You can touch-up the silver buckles after the flat coat.
Eyes are challenging to add in this small scale. A mere hint of eyes will work and be less frustrating than trying to paint a full eye. Paint an oval of white, then touch a dot of the iris color into the center of that.


Finally our pilot is placed on his aircraft, and attached with flexible RC56 glue under the shoes and hand.

Send us your comments below! Login with your Facebook, Twitter, Google or Yahoo account.