Cockpit
Construction starts with the cockpit. This is because most models are designed with a left and right fuselage half, and these are glued together with the cockpit inserted between. There is almost no access to the interior after the fuse halves are joined, so the time to paint and detail the cockpit is at the very beginning of construction. Now would also be the time to paint and insert a pilot figure.The cockpit interior can be hard to see when it's enclosed. But a good paint job can provide good contrast for the interior details, rewarding the close-up viewer of the model with a realistic view. It also helps if fine detail comes molded into the cockpit, as in this Corsair by Tamiya:
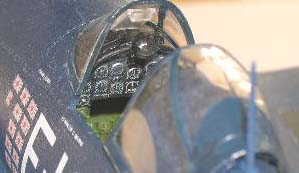
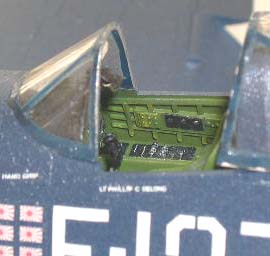
Above: Cockpit photos of 1/48 scale Corsair model. Note the instrument panel below the windscreen. You can see the round dials with needles and markings. To accomplish the effect, the black instrument panel was dry-brushed with silver.
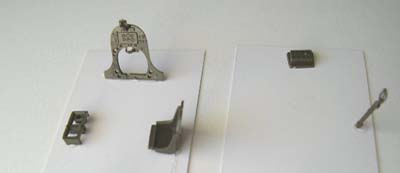
Below: Cockpit parts mounted on paper using hot glue gun, in preparation for painting.
Some techniques for improving cockpit interior detail:
1) Wash. This is similar to the technique outlined on this site for adding detail to the surface panel lines. Basically, a thin solution of dark color is run into the crevices of the cockpit interior. The excess is then wiped off, leaving dark color behind in the recesses, causing an exaggeration of the shadows.
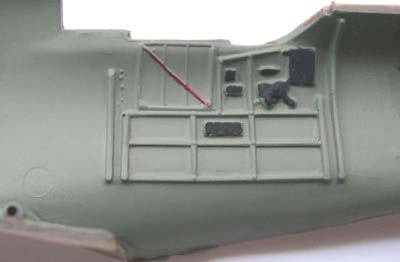
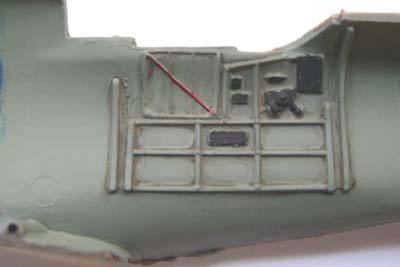
Above: Cockpit sidewall from Monogram 1/48 scale Spitfire MkII, before and after applying wash. Dark brown chalk deepens the shadows.
2) Dry-brushing. Dry-brushing achieves the opposite of the wash: it highlights the raised detail, or high-points. This is done by dipping the brush in paint, but then removing almost all of it by painting onto scrap material. When the brush seems fully dry or empty of paint, you are ready. Draw the brush across the raised detail, and it will leave just enough paint behind to create highlights. You will want to do the wash first, then the dry-brushing.
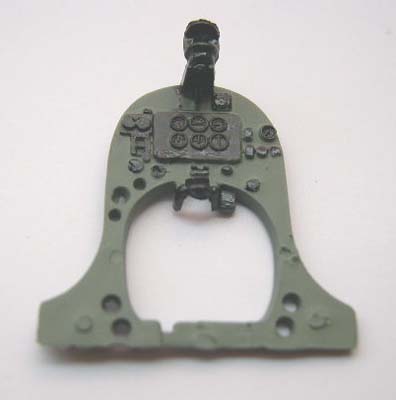
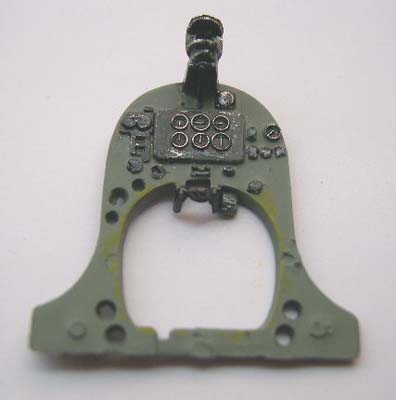
Above: Instrument Panel from the Spitfire. Top photo, panel painted with base color (interior green) and instruments painted black. Bottom photo, black instruments highlighted with silver dry-brushing. Notice the huge difference in contrast.
Below: Cockpit sidewall before and after dry brushing. Black instruments dry brushed with sliver, base color details highlighted with white.

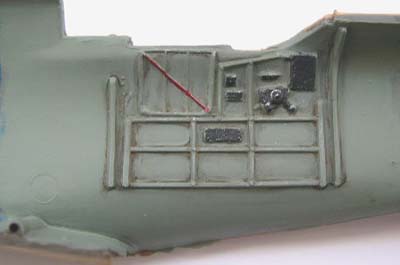
To create the right effect, you'll need to use the right combination of wash and dry-brush colors with your base color. Here are some suggestions:
| Base Color | Wash Color | Dry-brush Color |
| Interior Green (U.S.) | Dark Brown | Flat Yellow |
| Interior Green (U.K.) | Dark Brown | Flat White |
| Black | none | Silver |
| Dark Gray | Black | Silver |
Practice on some scrap plastic from the kit to build your confidence.
3) Instrument Glass.
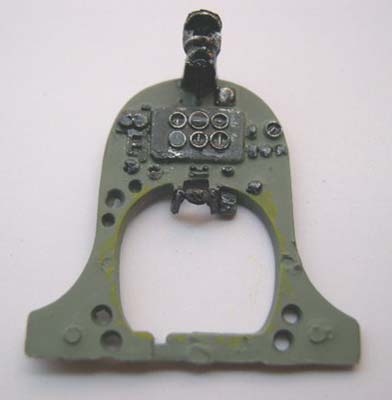
The instruments on the cockpit panel are covered in protective glass. To simulate this, use a fine-tipped brush to place a drop of clear gloss paint on each instrument face. Do this after the wash and dry-brushing.
Below: Instrument panel with "glass" dials. Fine point brush used to apply drop of Future acrylic
4) Seat Belts.
Seat belts are often left out of the kit, or supplied as decals. You can make much more realistic ones with basic masking tape. Just cut into thin strips and position them to look like any photos you have of the cockpit. This generally gives a better effect than decals which are stuck down directly onto the seat. You can add seatbelt buckles with a fine-tipped paint brush, or a silver paint pen.
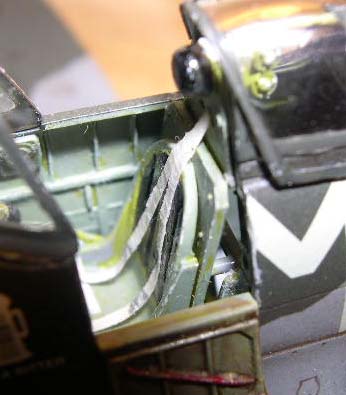
Above: Seat belts created with masking tape strips.
Send us your comments below! Login with your Facebook, Twitter, Google or Yahoo account.
